Expense claims cover the people your companies repay for what they spend on the company's behalf: an employee, a partner, yourself. Each gets a private page and an email address for receipts and car trips, with no account to create. Their expenses reach Approvals as one claim per person, and an approved claim becomes one bill to them in QuickBooks.
Expense claims are part of Autopilot and work for the companies it covers. The owner and team members alike can add people and decide claims. Your assistant has no tools for them; everything happens in the portal.
Add a person
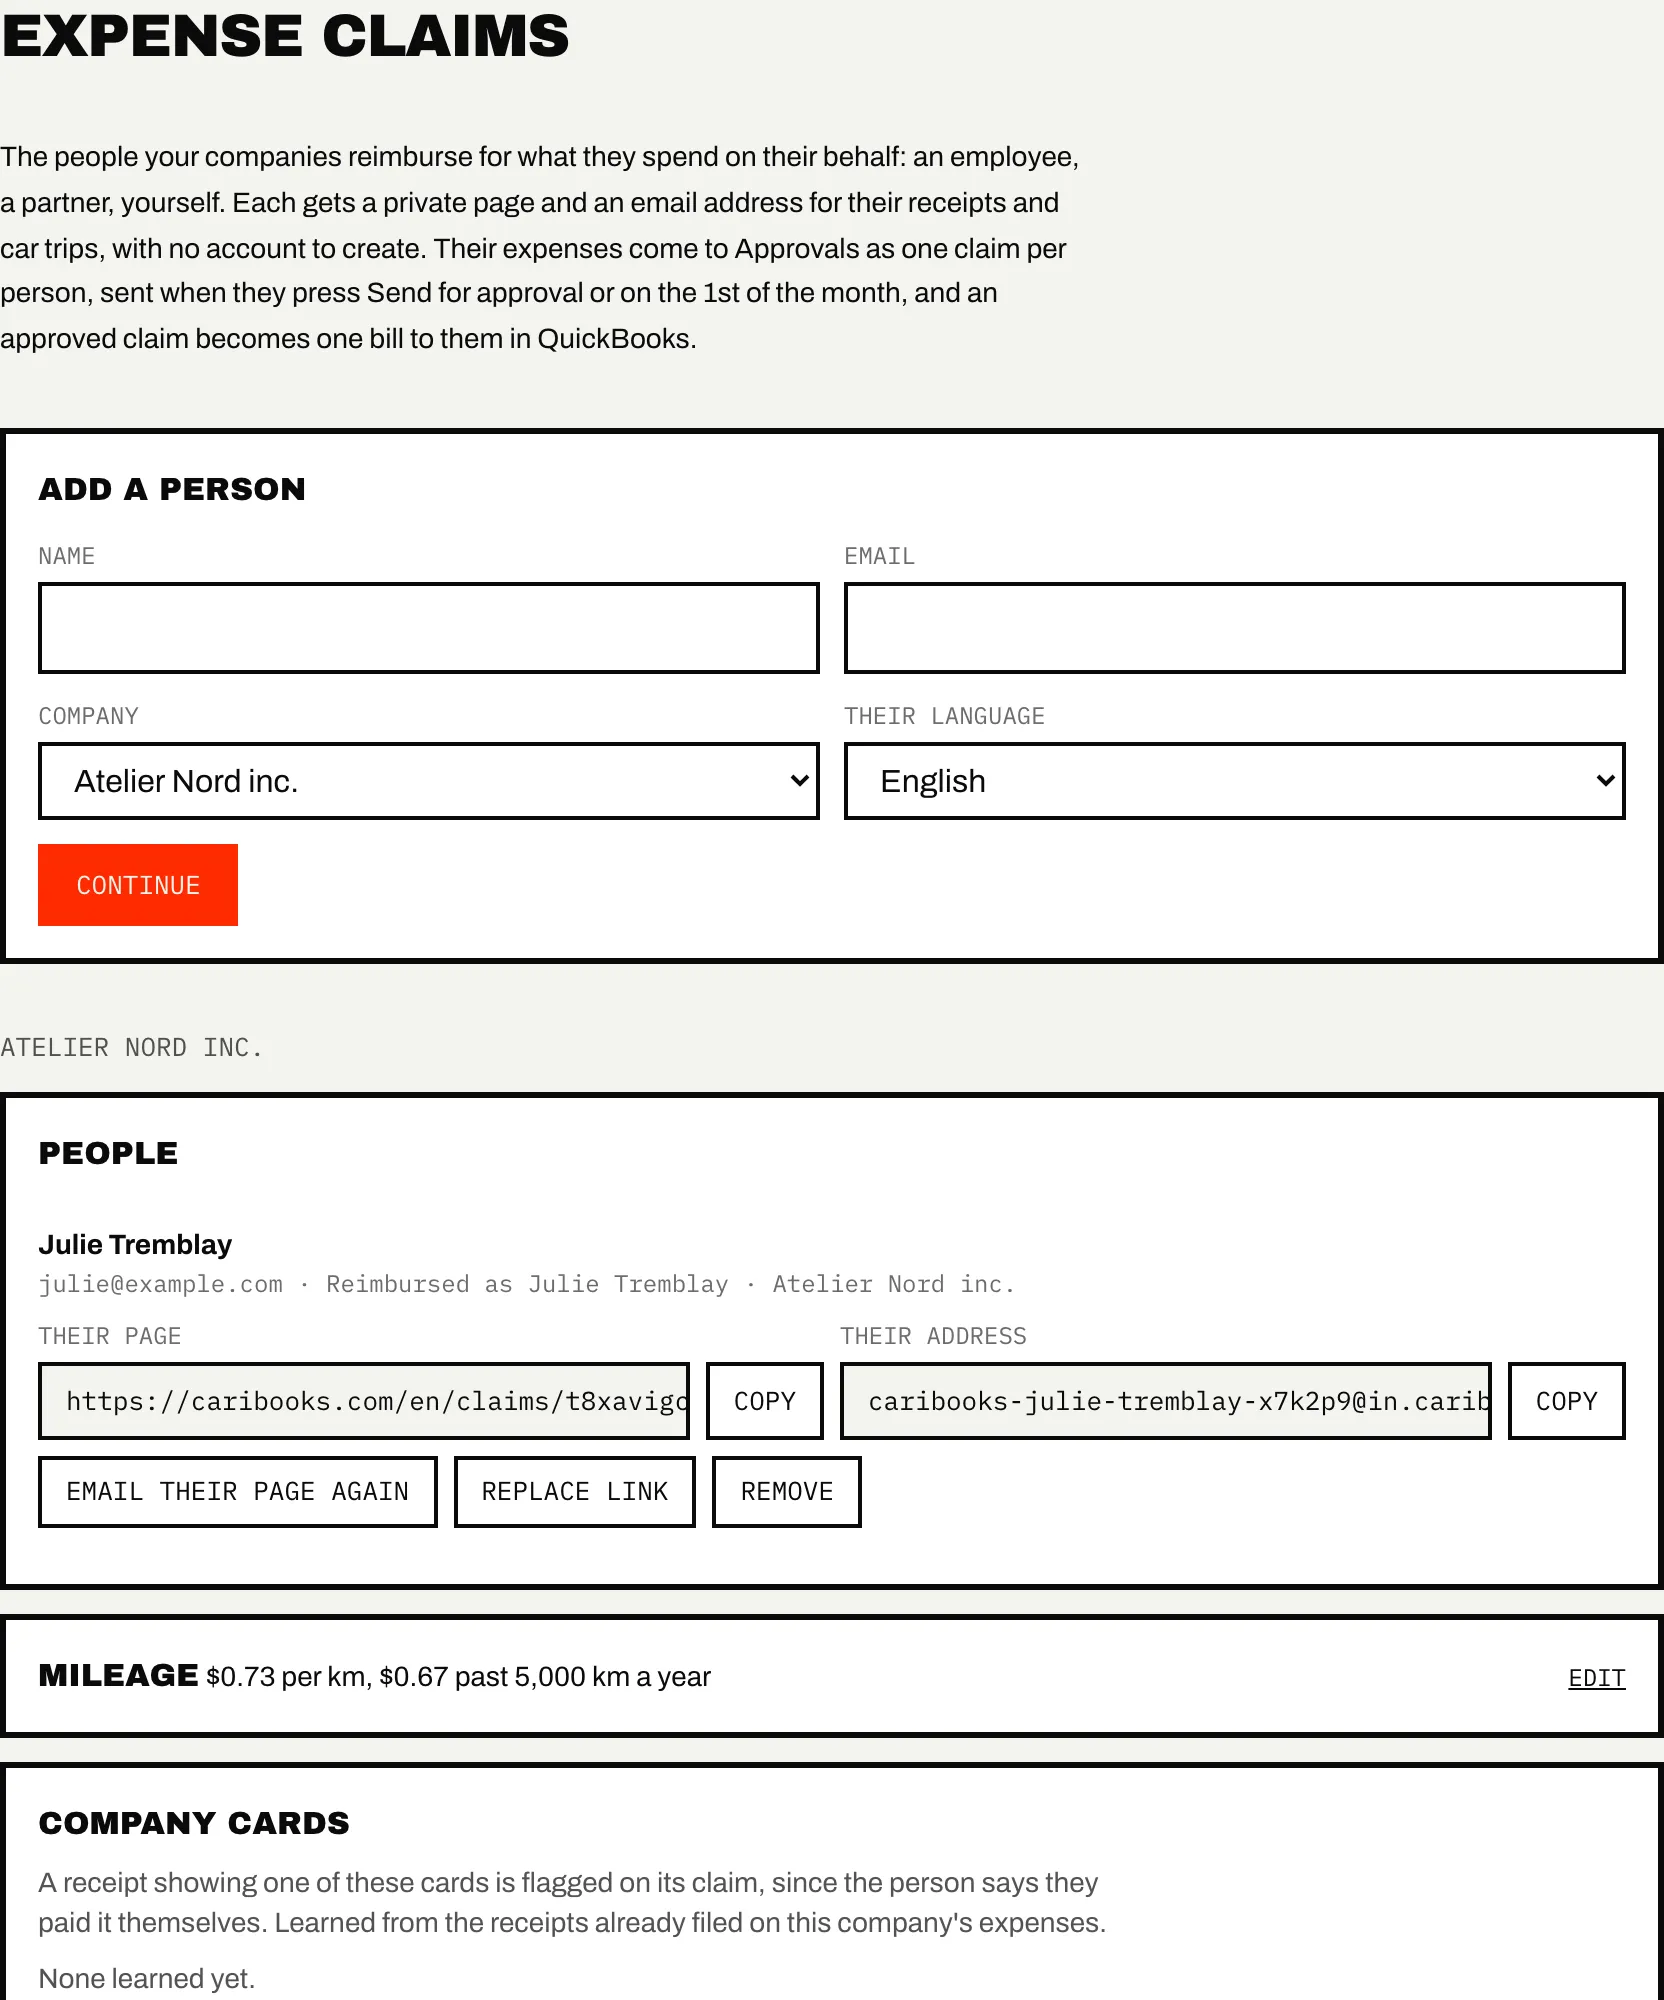
- Open Expense claims and click Add a person.
- Fill in Name, Email, Their language and Company, then click Continue.
- Say who they are in the company's books: pick a vendor whose name or email matches, or create a new one. If a customer, employee or vendor in QuickBooks already has that name, the new vendor gets a slightly different one.
- Click Add and email their page. They receive their page link and their address. If the email cannot be sent, the portal says so and you pass the page on yourself.
Creating the vendor, and later the bills, writes to QuickBooks, so the company needs full access (see Access and confirmations). The page warns you when a company lacks it.
Each person's row shows Their page and Their address, with:
- Email their page again;
- Replace link: a new link and a new address. The old ones stop working at once, and the page is emailed again;
- Remove: their page and address stop working at once. Anything already in their open claim still goes to Approvals, and their vendor stays in your books.
What the person does
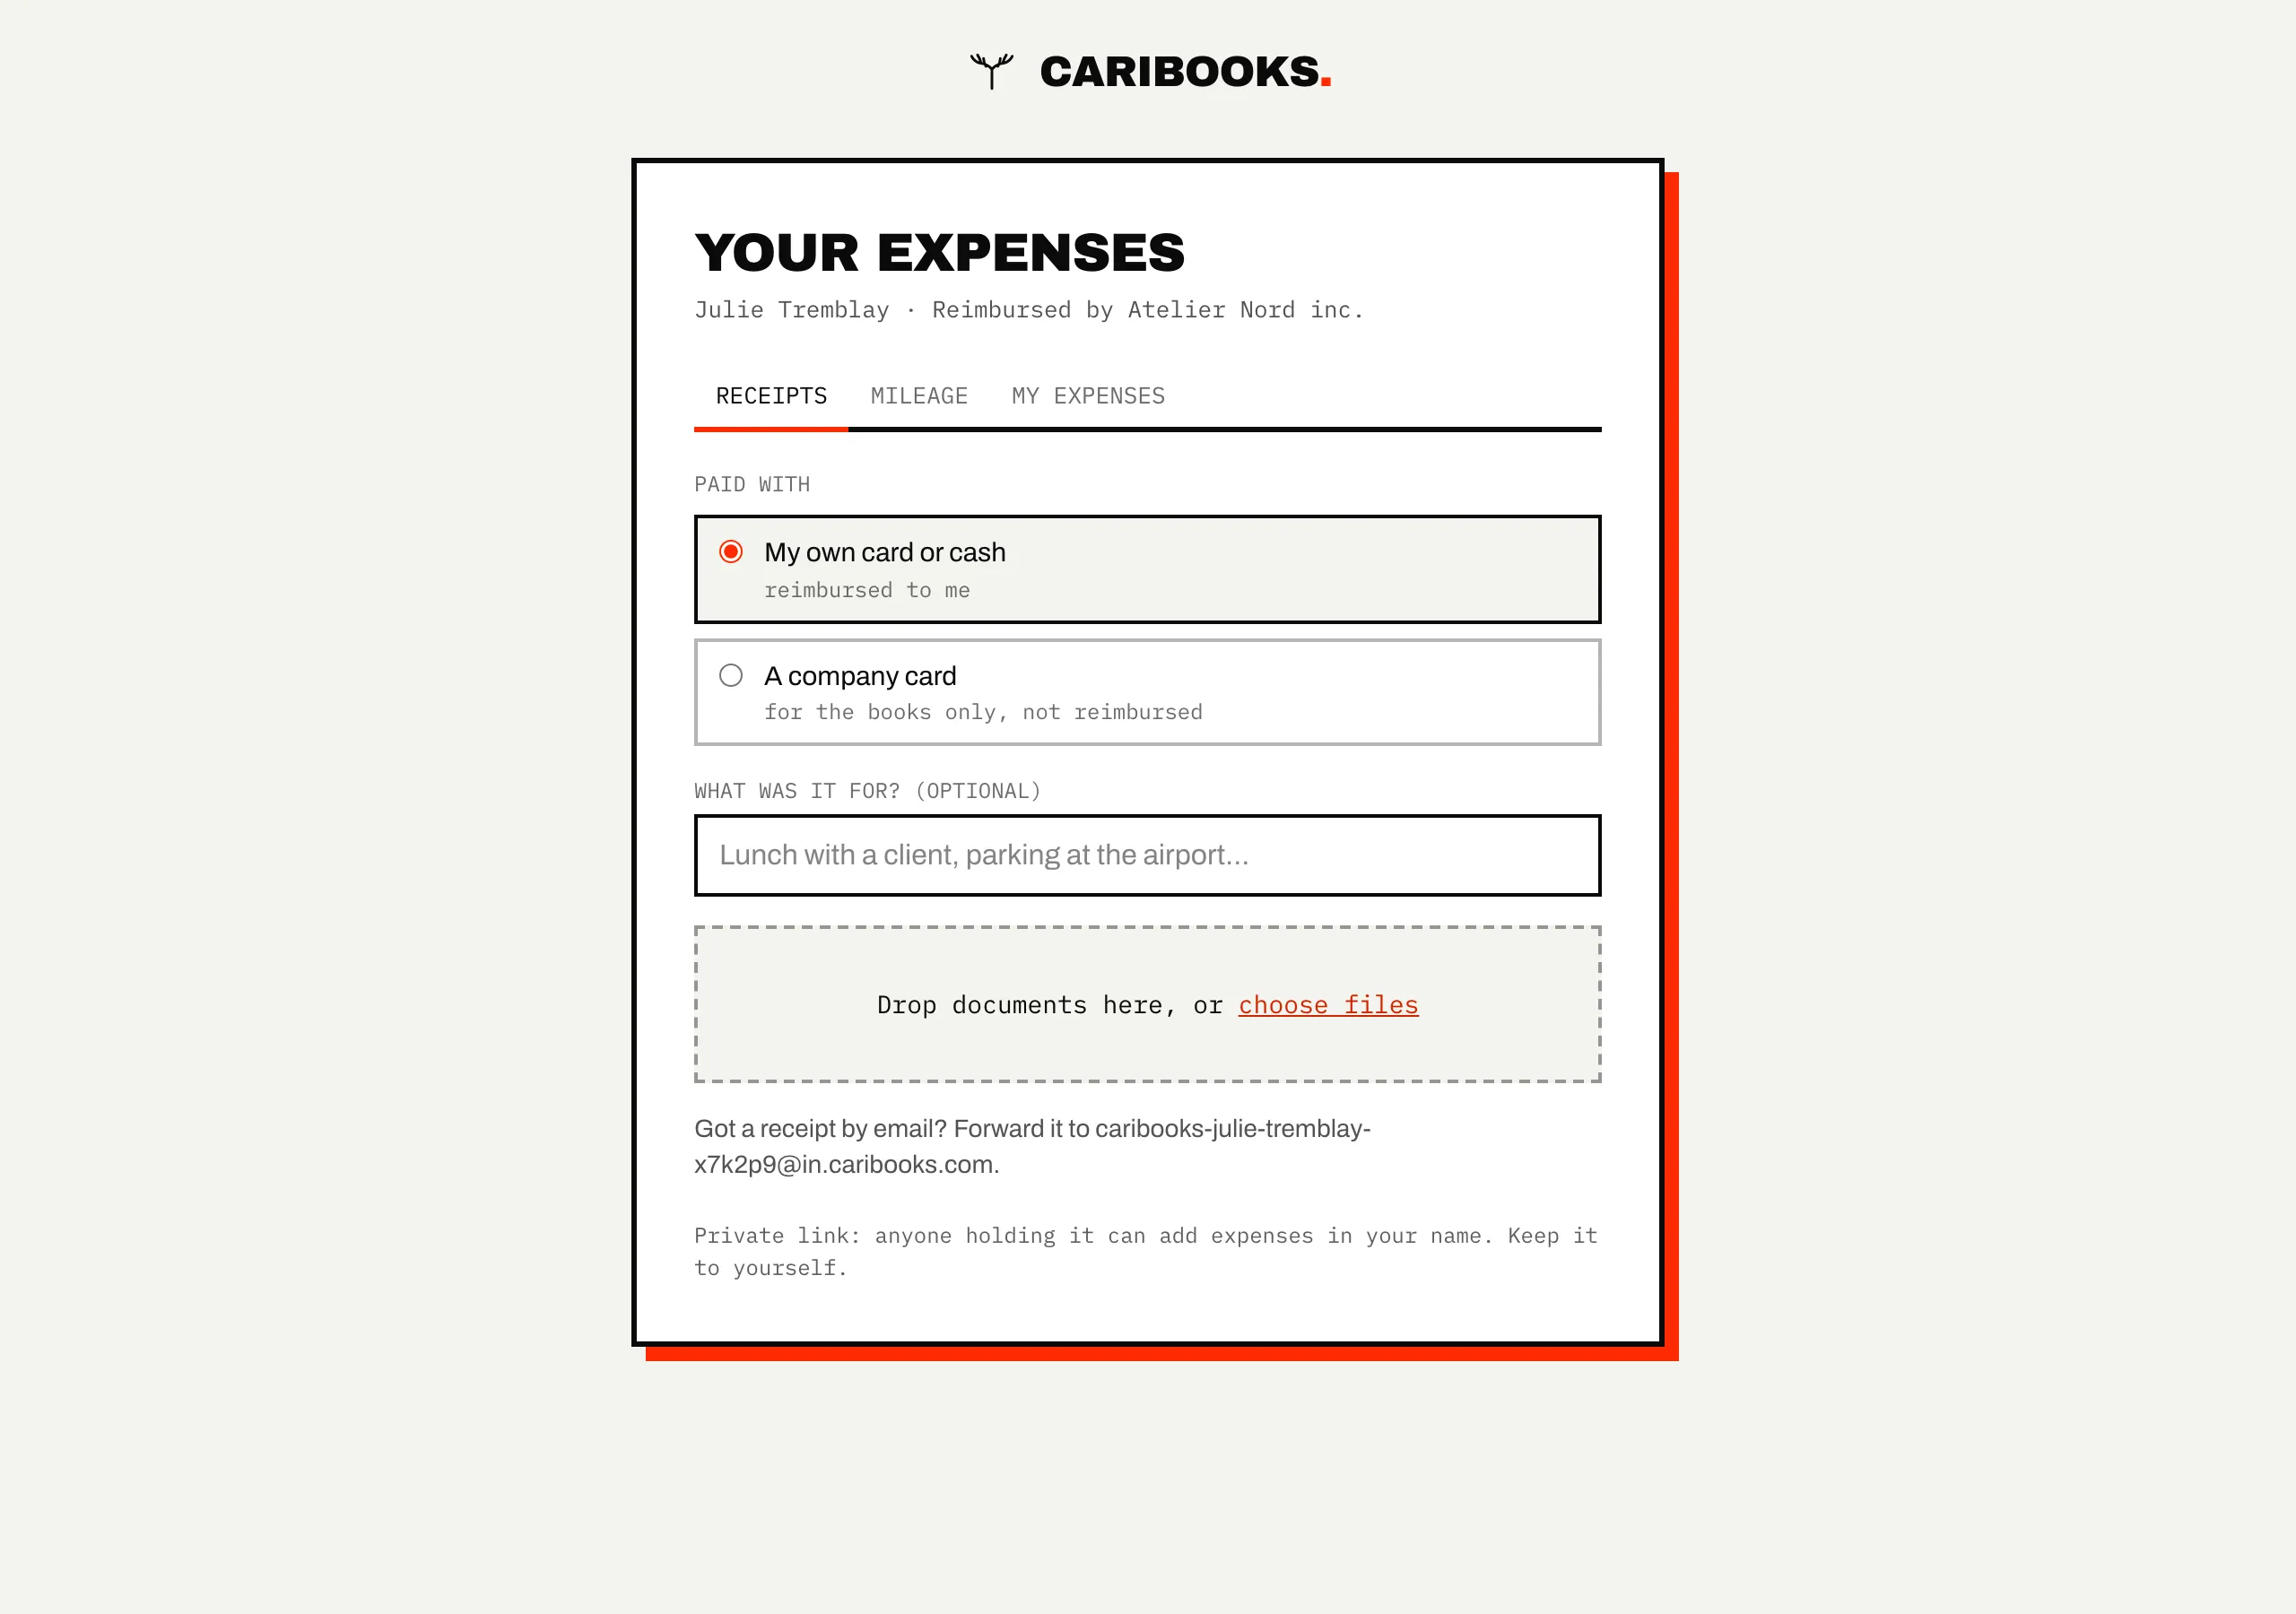
Their page opens without a password, so anyone holding the link can add expenses in their name.
- Receipts: they drop a photo or a file and say what paid for it. My own card or cash puts it in their claim. A company card sends it to the company's document box for the books, with nothing reimbursed. A note is optional.
- An emailed receipt forwarded to their address joins their claim.
- Mileage, when the company repays car trips: date, from, to, purpose, distance one way, and whether it was a round trip.
- My expenses lists what has not been sent. They can Remove a line while the claim is open, then click Send for approval. If they forget, a claim with anything in it is sent on its own on the 1st of the month.
A receipt can be claimed once. The person gets an email when their claim is decided, with each refused line and its reason, and another once they are repaid. They can turn those two off.
Mileage and company cards
Each company has its own settings.
- Mileage: click Edit, tick Repay car trips, and set the Unit (km or mi), the Rate, an optional second rate past a yearly threshold per person, and the Expense account for trips. The rate starts from your mileage item's rate in QuickBooks, otherwise the official tax-free rate (CRA in Canada, IRS in the United States). You can pay less. With mileage off, people see no Mileage tab. With a second rate, a person's first trip of the year asks how far they had already driven for work, so the threshold counts it.
- Company cards: the last four digits of the company's cards, learned from receipts already filed on its expenses. You can add or remove them. A claimed receipt that shows one of them is flagged.
Currencies
A receipt in the company's currency is repaid as it reads. One in another currency is repaid at the Bank of Canada's rate for its date plus 2.5% for the conversion fee a card charges. When the bank publishes no rate for that currency, you type the amount.
Review and approval
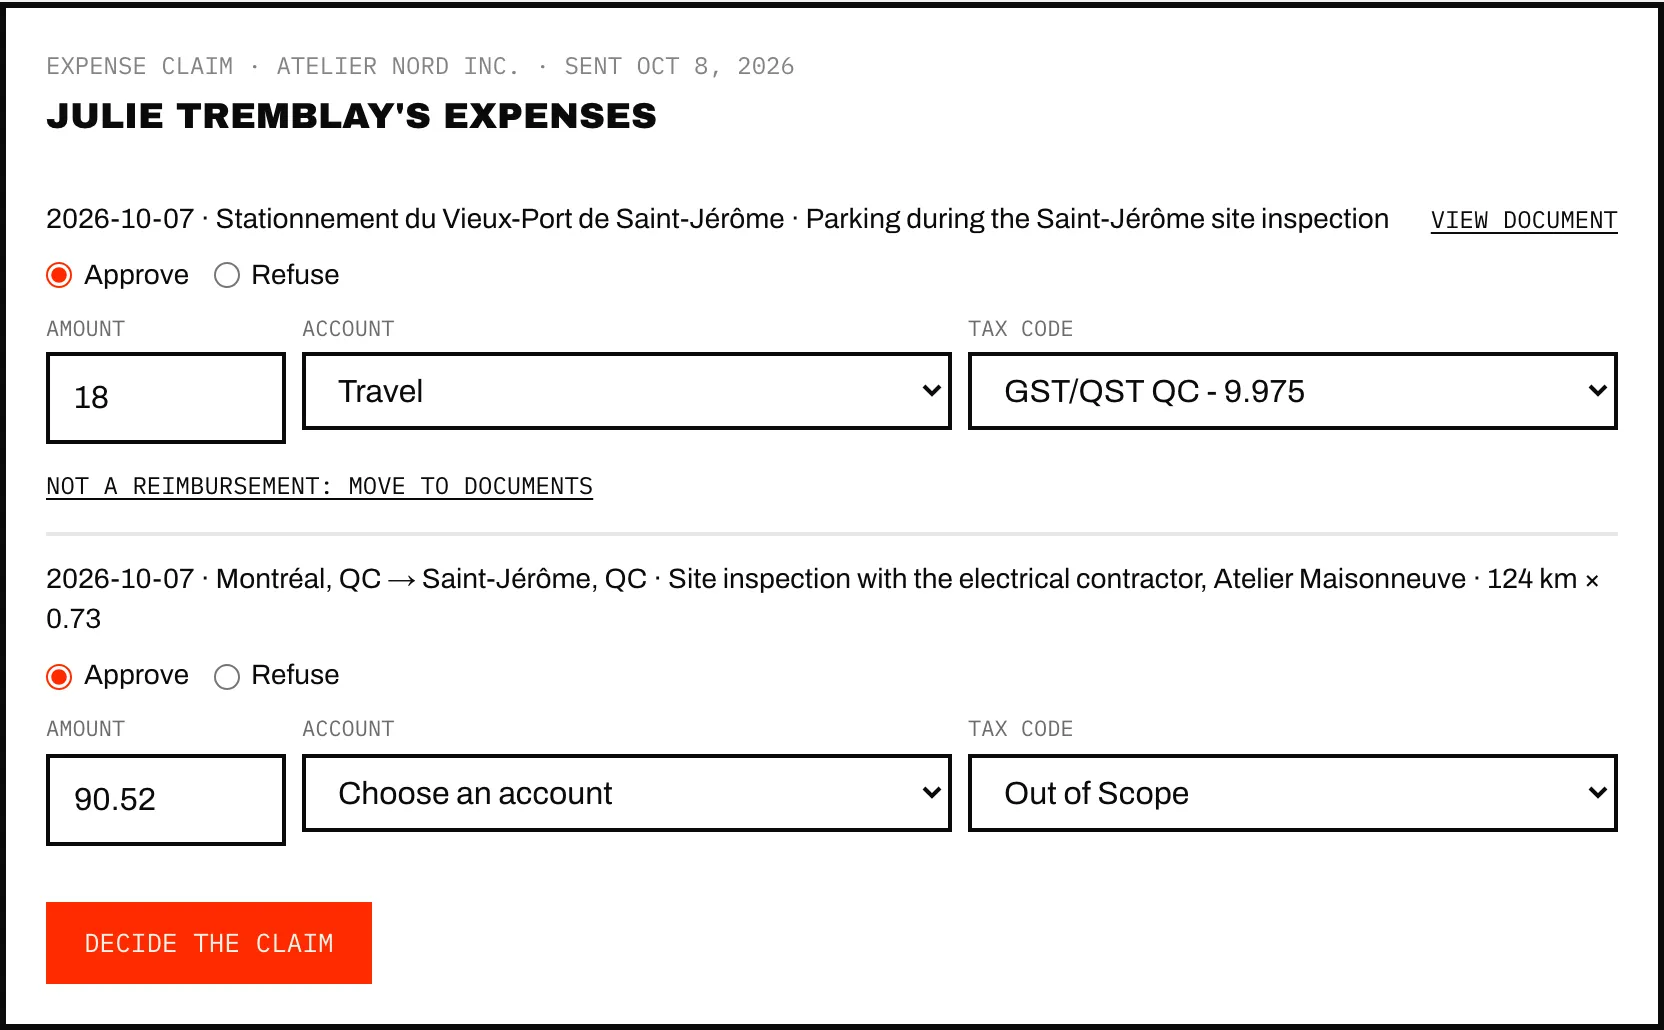
A sent claim appears in Approvals as the person's expenses. For each line, Approve with an Amount, Account and Tax code, or Refuse with a reason the person will see. Accounts are proposed when the claim is sent, from the vendor's usual account and your company's rules. A receipt that is no reimbursement at all leaves the claim with Not a reimbursement: move to Documents. Every line must be decided before Decide the claim.
The approved lines become one bill to the person's vendor, dated the day the claim was sent and numbered after it (EXP- and eight characters), one line per approved expense before tax. The receipts are attached to that bill. Refuse every line and no bill is written.
Warnings sit on a line and never refuse it:
- an expense of the same amount within three days is already in the books (perhaps paid with a company card);
- a receipt from the same vendor, same day, same amount was already claimed;
- the receipt shows one of your company cards;
- a Canadian receipt of $30 or more charges tax but shows no GST/HST or QST number, so the tax credit may be refused;
- none of your tax codes matches the receipt's taxes;
- the receipt is still being read, or has no exchange rate.
Claim statuses
The Claims list shows each claim as Open, In Approvals, Being written, To reimburse or Refused, with a link to its bill. You repay the person your usual way. Once the bill's balance in QuickBooks is zero, the claim shows Reimbursed and the person is told.