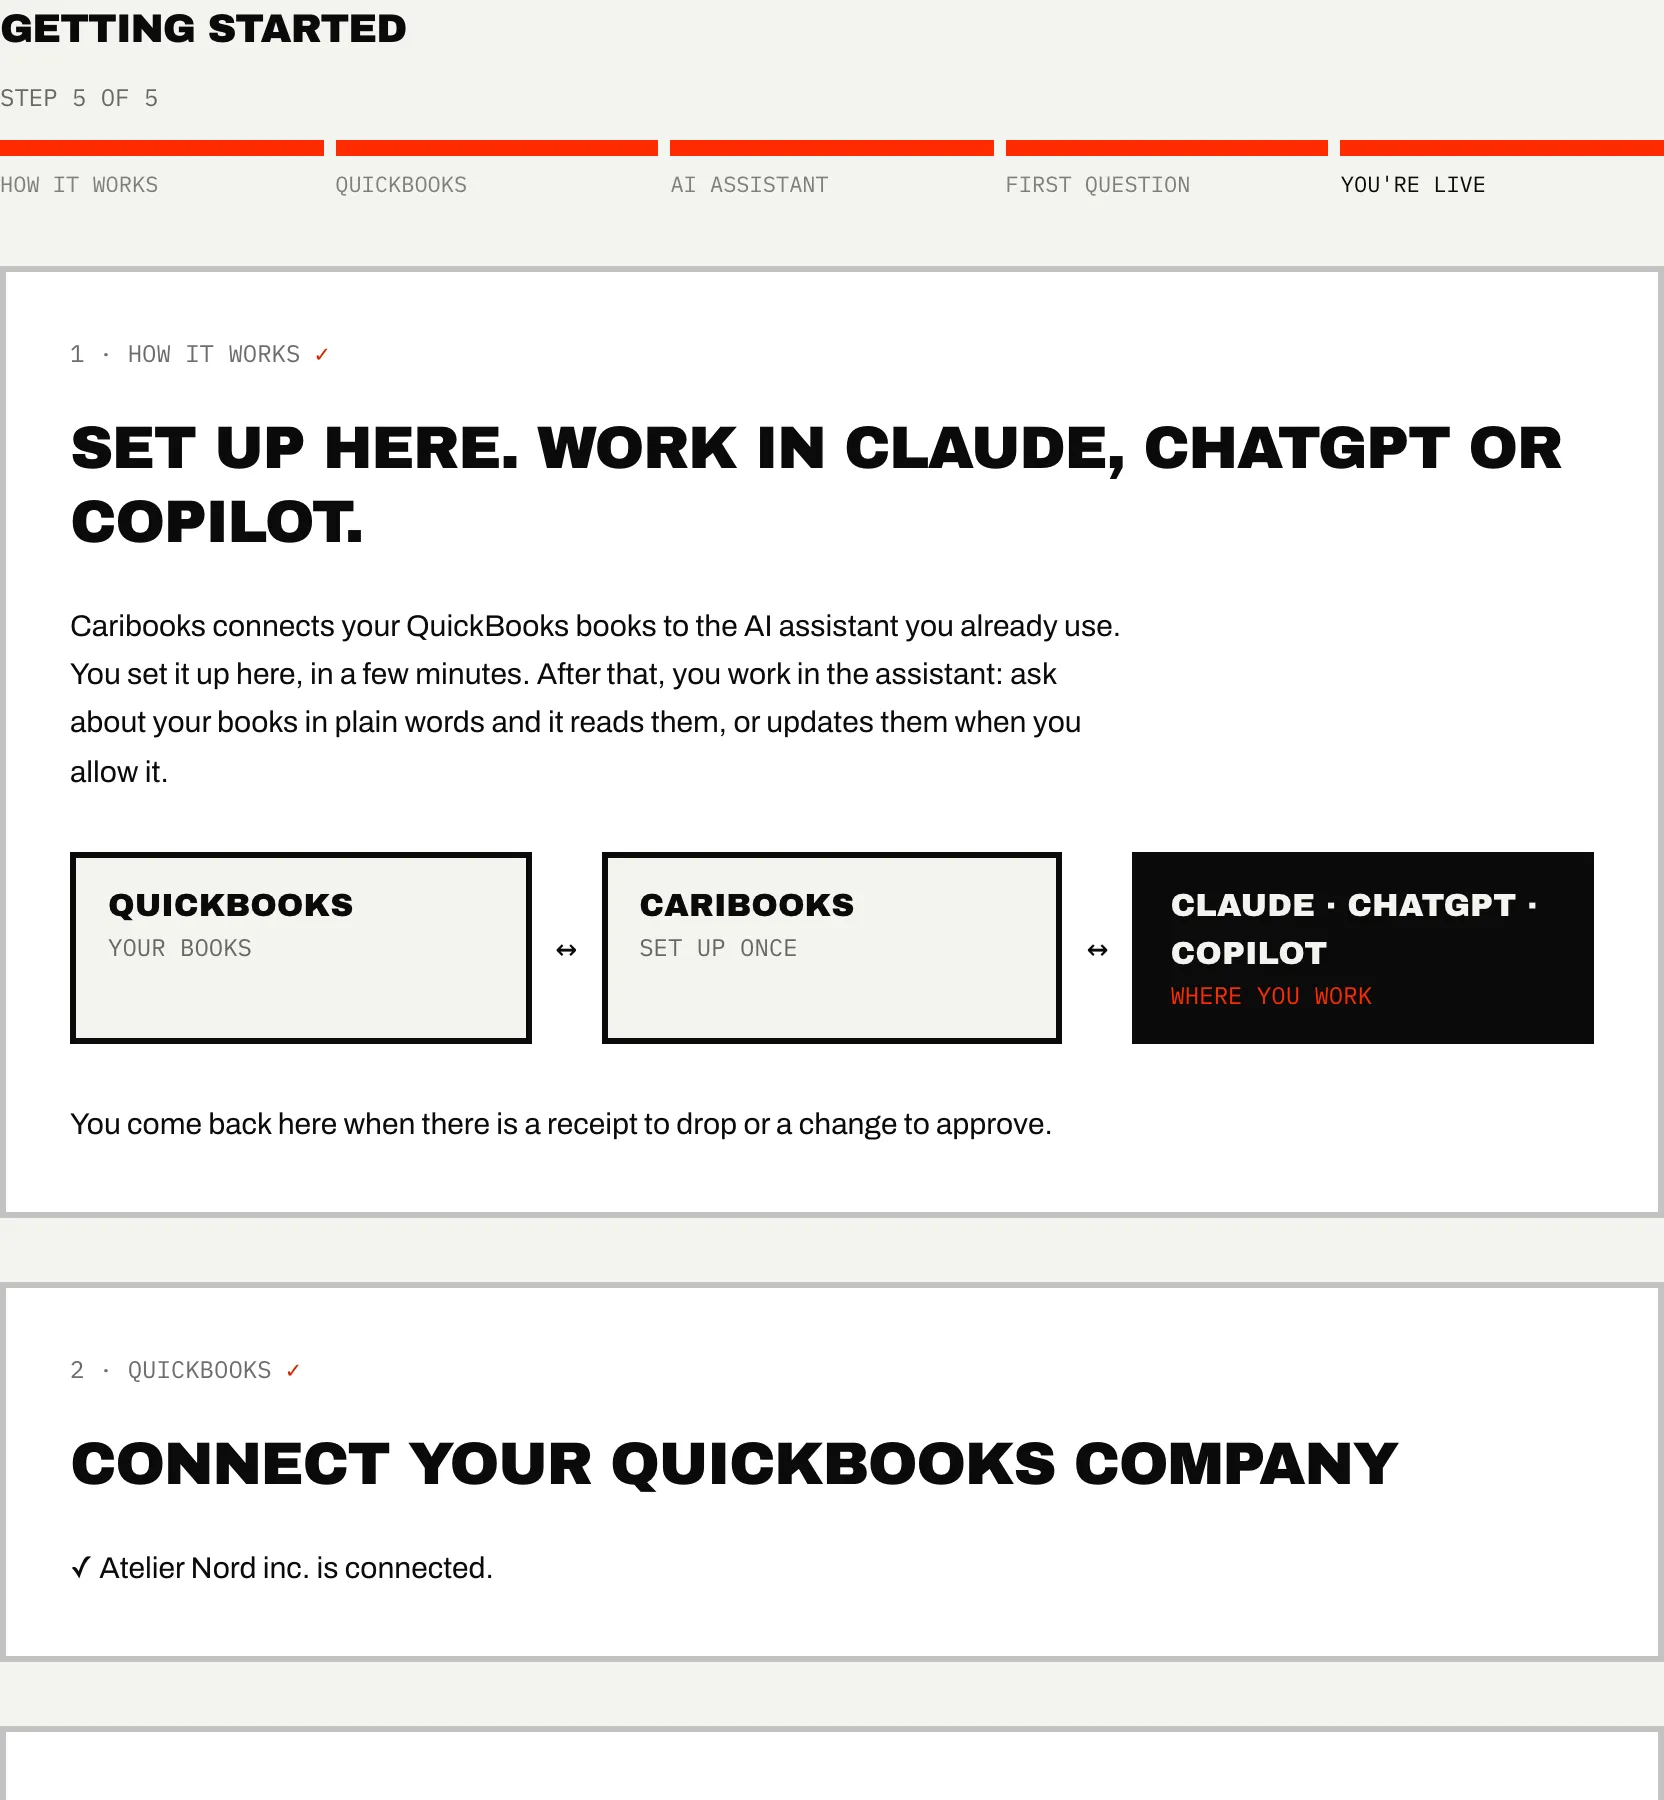
Caribooks works inside the assistant you already use. You add it once as a connector, sign in with your Caribooks account and allow access. From then on, the assistant can reach the QuickBooks companies connected to your account.
You find the buttons and addresses in two places in the portal:
- Getting started, step 3: pick Claude, ChatGPT or Microsoft Copilot and the page shows that assistant's steps. Pick another assistant takes you back to the choice.
- Settings → AI assistant: the same buttons and addresses, for any time later.
Connect a QuickBooks company first if you can (see Connect QuickBooks). The assistant can be added before, but it has no books to read until a company is connected.
Claude
Caribooks works on every Claude plan, the free one included.
- Click Add to Claude. Claude opens its window for adding a custom connector, with Caribooks and
https://caribooks.com/api/mcpfilled in. - Claude warns you about an outside link. That is expected. Check that the address reads
https://caribooks.com/api/mcp, then click "Continue", then "Add". - Caribooks opens. Sign in if asked, then click Allow.
- Claude then opens the Caribooks connector settings. Set "Read-only tools" to "Always allow", so Claude stops asking each time it reads your books. Leave "Write/delete tools" on "Needs approval": each change to your books still waits for your click.
To change those settings later, use Open Claude's connector settings on Getting started, or go to the connectors page in Claude's settings.
When Claude asks permission to use a tool and you do not click, nothing reaches QuickBooks, and the assistant may say it received no approval. Ask again and allow the tool when Claude asks.
ChatGPT
Caribooks is listed in ChatGPT's app directory.
- Click Add to ChatGPT. ChatGPT opens the Caribooks app.
- Add it, then sign in with your Caribooks account and allow access.
Microsoft Copilot
Copilot reaches Caribooks through an agent you build in Copilot Studio. You need a Microsoft 365 work account that is allowed to build agents there.
- In Copilot Studio, open or create an agent, then Tools → Add a tool → New tool → Model Context Protocol.
- Paste the Microsoft Copilot address:
https://caribooks.com/api/mcp/compact. Copy it from Getting started or Settings → AI assistant. - Choose OAuth 2.0, then "Dynamic discovery", and authorize Caribooks with your Caribooks account.
- Publish the agent and add the "Teams and Microsoft 365 Copilot" channel. Depending on your organization's settings, an administrator may have to approve it.
Copilot Studio limits how many tools an agent can hold. The Copilot address groups the same QuickBooks operations into 23 tools: one per operation, which takes the record type (invoice, bill, vendor and so on). The full step-by-step guide is on the setup page.
Other MCP clients
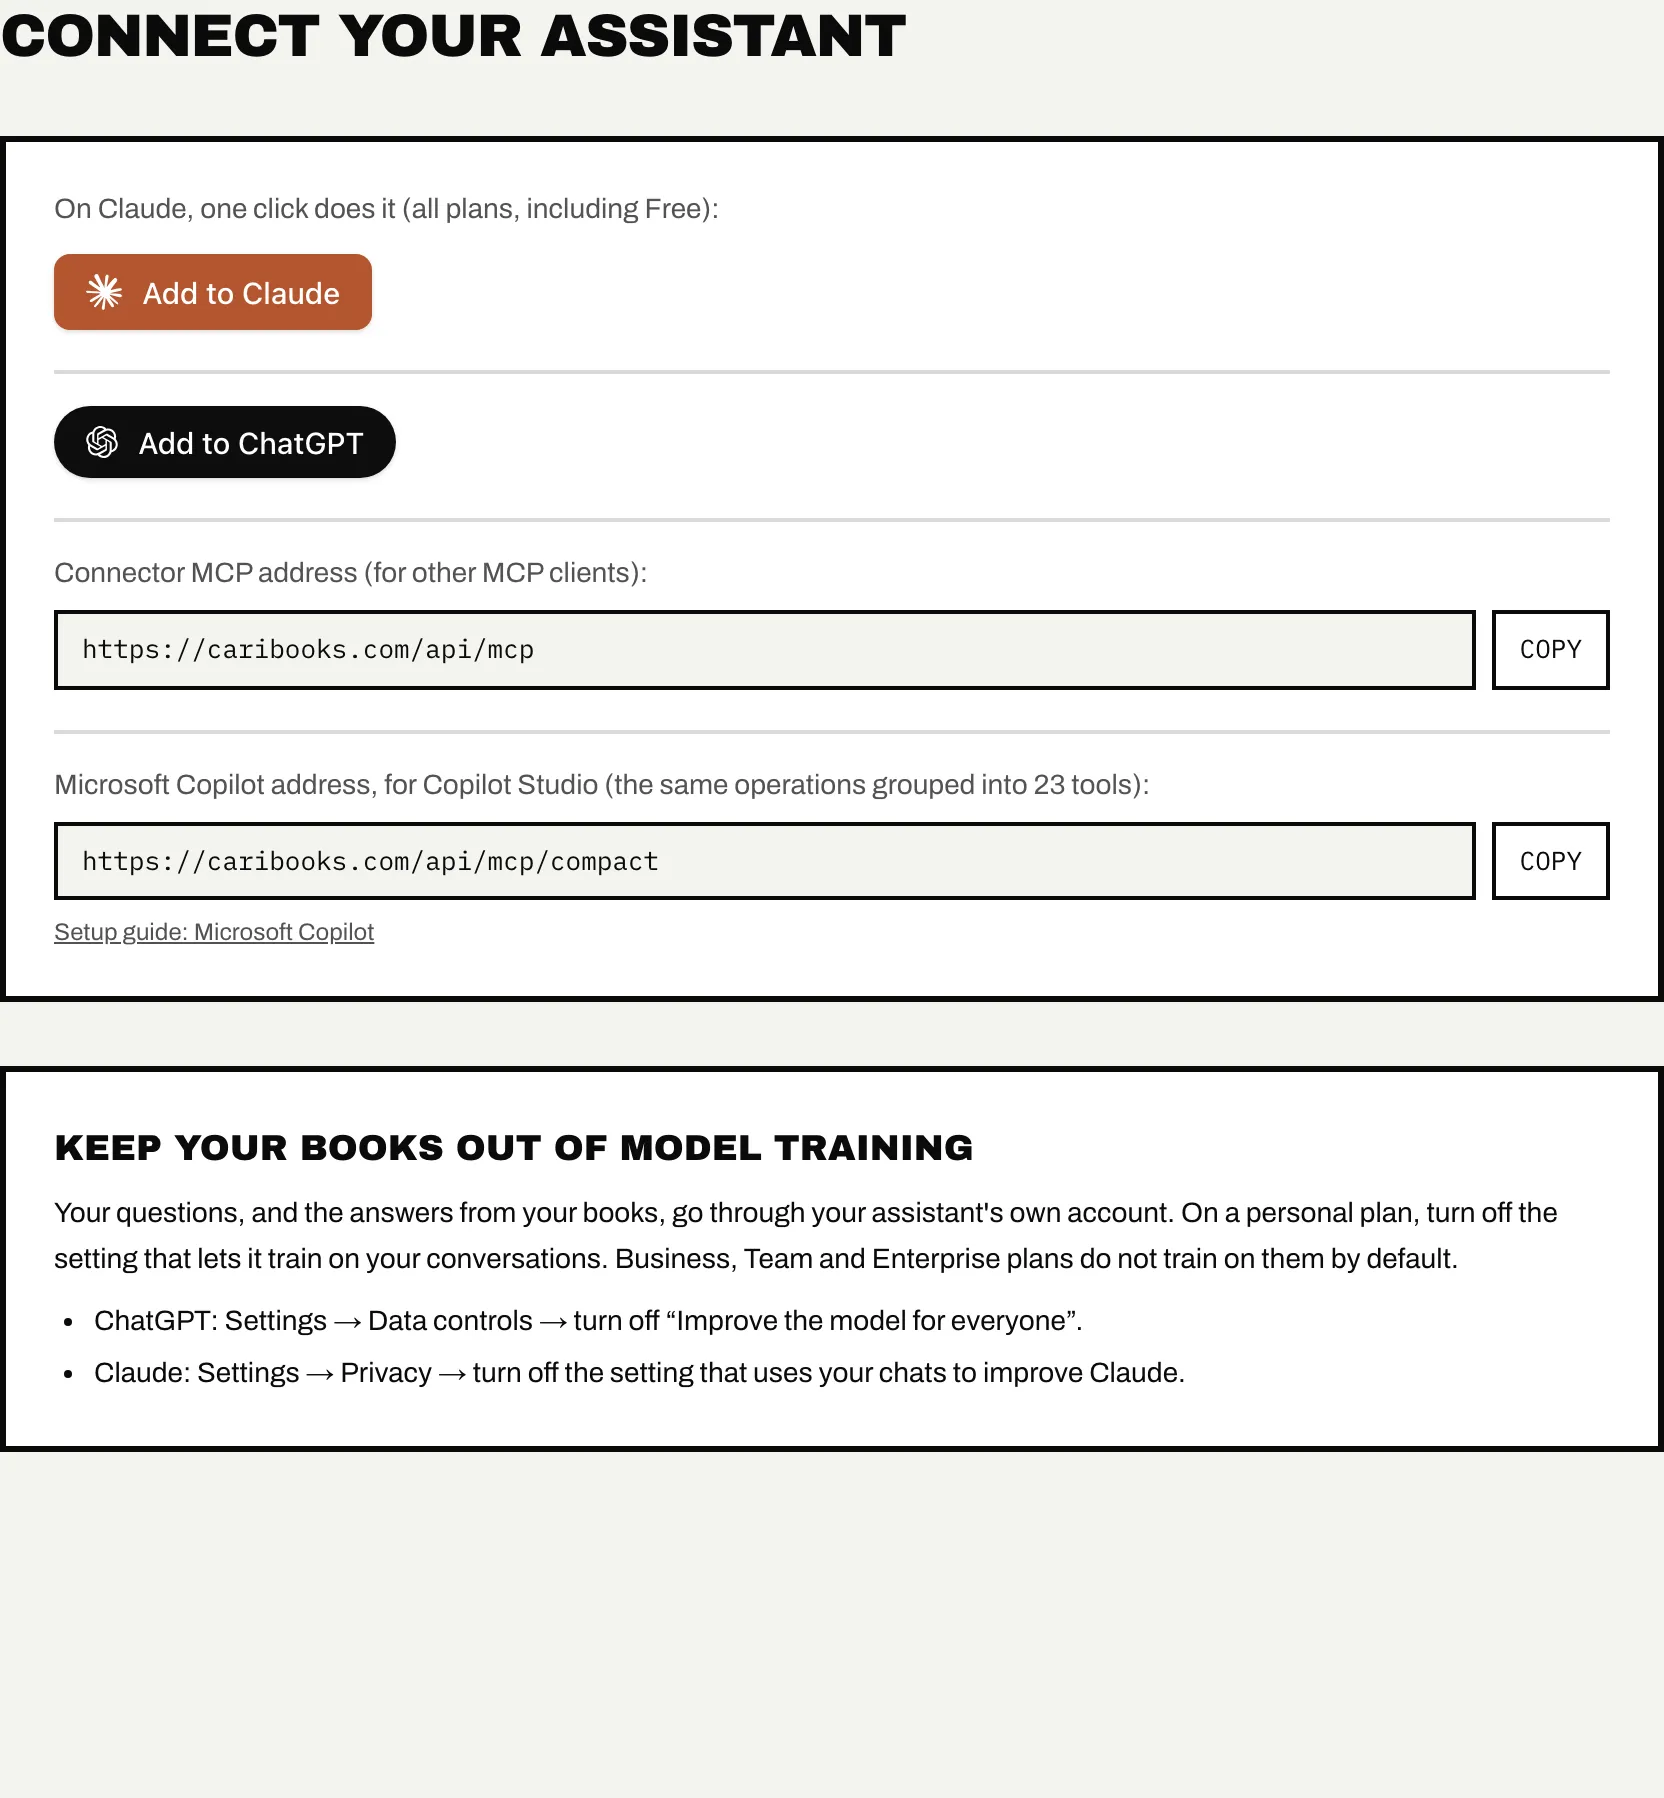
Settings → AI assistant also shows the connector's MCP address, https://caribooks.com/api/mcp, for any other client that supports remote MCP servers with OAuth sign-in.
The authorization screen
Whichever assistant you use, Caribooks shows an Authorization page. It names the assistant and says it requests access to the QuickBooks companies connected to your Caribooks account.
- Allow gives the assistant access to every company on the account. What it may change follows each company's setting: read-only, or full access. See Access and confirmations.
- Deny gives it nothing.
If you are not signed in, Caribooks asks you to sign in first, and creates your account if you have none. See Account and sign-in. An authorization request lasts about ten minutes. If it has expired, the page says so. Go back to your assistant and connect Caribooks again.
Each person on a team adds Caribooks to their own assistant, signed in with their own Caribooks account.
Getting started: the first question
On Getting started, once you have added Caribooks, the page waits for your assistant to connect, then moves to step 4. It shows three questions about your company to copy, and a button to open Claude or ChatGPT. Paste one into a new conversation.
The page watches for your assistant's first call to your books and moves to You're live on its own. From then on, the portal opens on Documents. Getting started stays in the menu.
Keep your books out of model training
Your questions, and the answers from your books, go through your assistant's own account. On a personal plan, turn off the setting that lets it train on your conversations:
- ChatGPT: Settings → Data controls → turn off "Improve the model for everyone".
- Claude: Settings → Privacy → turn off the setting that uses your chats to improve Claude.
Business, Team and Enterprise plans do not train on them by default. More in Security and privacy.
Ask your assistant
- "Which invoices are overdue, and for how much?"
- "What is my profit and loss this month, compared with last month?"
- "Which expenses this month have no receipt attached?"